Why notation matters
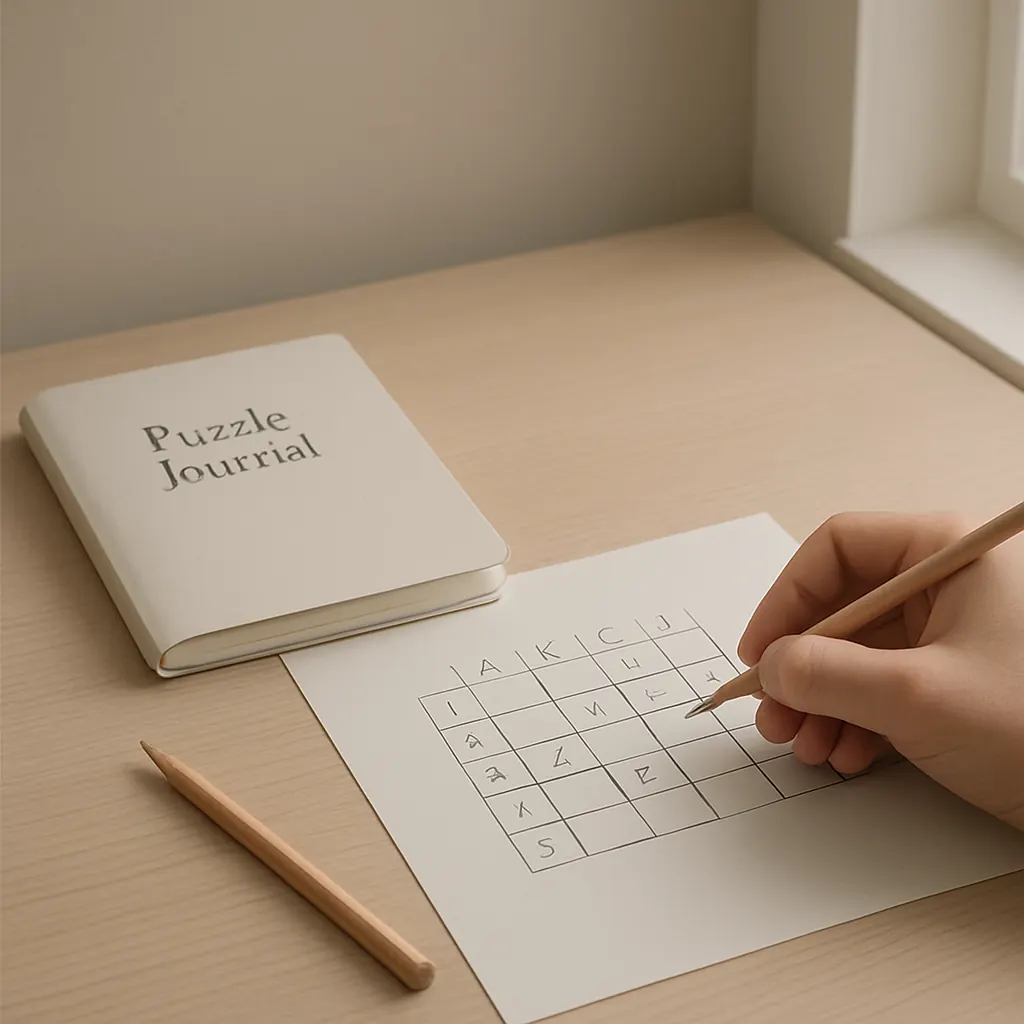
Notation is the bridge between what you read on a puzzle and the deductions you make. Small, consistent marks outside of your main grid keep the grid tidy and the reasoning visible. Good notation reduces re-checking, prevents errors, and helps you calm the pace of your solving. When you learn to use notation to simplify tough puzzles, the hardest parts of a puzzle become easier to isolate.
Core principles for any system
- Be consistent: A mark should always mean the same thing. If a dot means “possible,” don’t flip it to mean “confirmed” later.
- Prefer small, repeatable symbols: X, O, >, =, and numbers are quick to write and easy to scan.
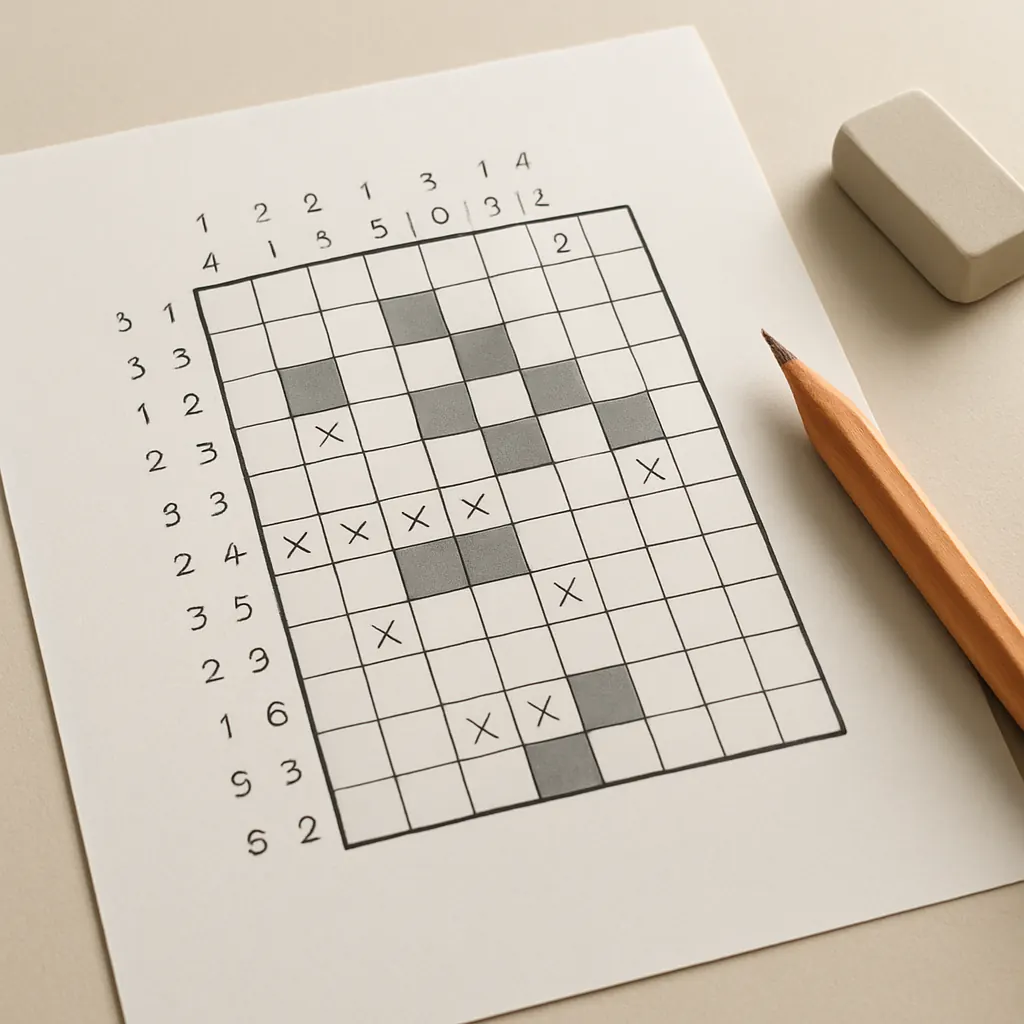
- Keep the main grid clean: Use the grid for firm assignments and eliminations; use margins and micro-maps for tentative notes.
- Make conditional notes readable: Short, clear phrases or arrowed shorthand help later review (“If A–B, then C≠D”).
Shorthand marks that save time
Below are compact marks I use and recommend practicing. Choose one symbol for each meaning and stick with it.
- Confirm: Solid dot or bold check (• or ✓) for a confirmed match.
- Eliminate: Slash or small x (/) or x for impossible pairings.
- Possible: Small open circle (o) or a light dot for a candidate.
- Conditional: Use arrows for implications: “A → B” or in the margin “A→(B×)” to mean A implies B is false.
- Pairing shorthand: Abbreviate long names in headers—use initials or 1–6 numbering—and keep a key at the top or side so you avoid rewriting full names.
Micro-maps: a tiny separate workspace
Micro-maps are small, separate sketches that track tentative relationships or multi-step chains. Think of them as sticky notes in the margins:
- Draw a tiny 3×3 matrix to test a hypothesis (e.g., “If Alice=Red, then…”) and mark the resulting contradictions.
- When a hypothesis leads to a contradiction, write a short note “Hyp A → contradiction” and mark the original hypothesis eliminated in the main grid.
- Keep micro-maps deliberately temporary—cross them out when resolved to avoid clutter.
Color cues without relying on color
Color can be fast, but it isn’t always accessible or available. Combine simple color use with shapes and letters so your system still works in grayscale or for color-blind readers:
- Use a single colored pen for confirmed items and a different pen for eliminations, but also add symbols (✓ and /) so meaning is clear without color.
- If you label columns with colored initials, also include the initial letter or number inside the cell to avoid dependence on hue.
Layout, margins and header abbreviations
Good layout reduces searching time. A few layout rules I follow:
- Reserve the top-left of the page for a short abbreviation key (e.g., A = Alice, R = Red).
- Leave a wide right margin for micro-maps and conditional chains; this prevents overwriting grid cells.
- Draw thin separator lines to group related columns or rows visually—these act as quick chunking cues for working memory.
Before and after: a small example
Imagine a 4×4 grid with people A–D and drinks Tea/Coffee/Juice/Water. Raw approach: write full names in each cell and cross out every elimination. The page gets messy and slows you down.
After applying notation tricks:
- Headers: A,B,C,D; drinks T,C,J,W with a short key at top.
- Confirmations: mark A–T with • and write “A•T” in the margin.
- Eliminations: use / in grid cells and keep possible candidates as small circles only in the margin micro-map for each person.
- Conditional: when a clue implies “If C≠J then B=C,” write “C×J → B=C” in the right margin so the chain is visible without cluttering cells.
Result: the grid shows only firm facts and eliminations; the margin contains the lightweight thinking steps that got you there.
Short drills to practice notation
Training the habit takes minutes. Try these five-minute drills:
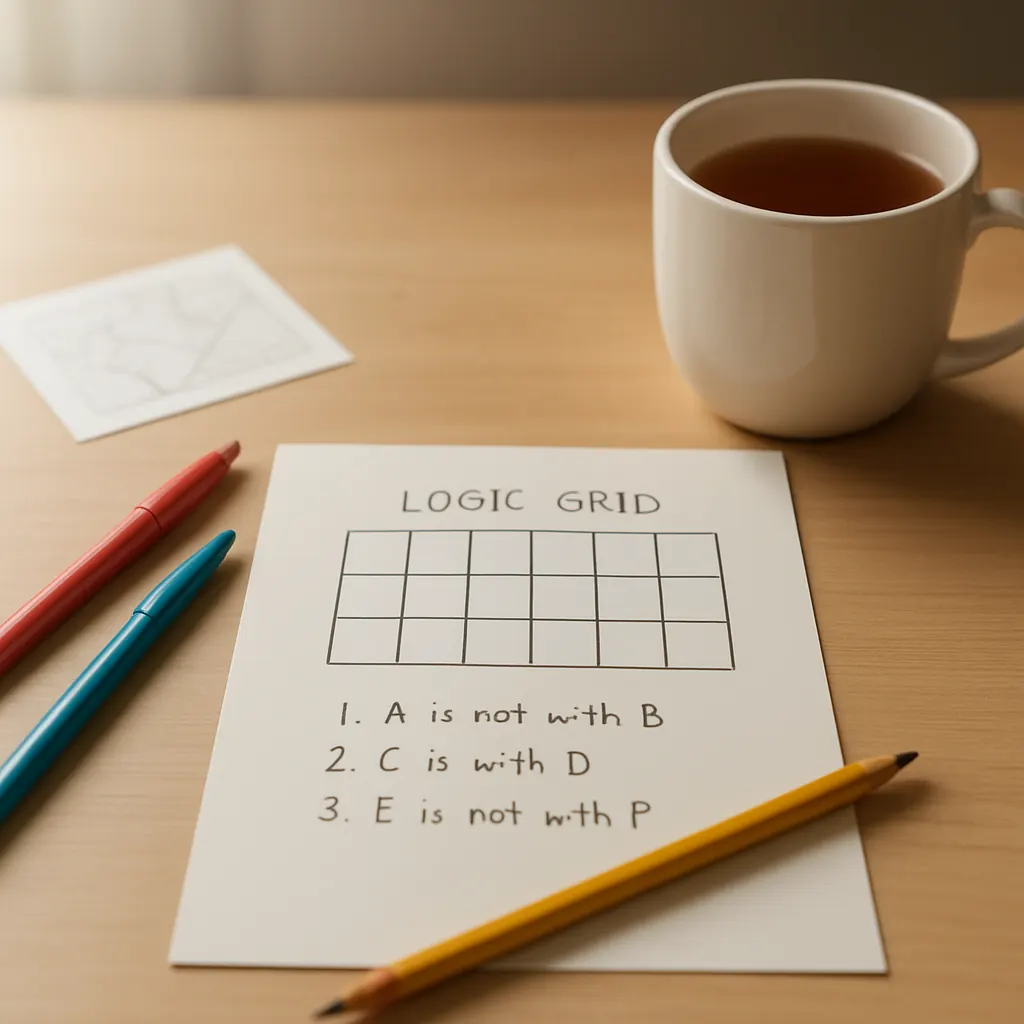
- Set a one-clue challenge: draw a 3×3 grid, assign short headers, and spend three minutes listing every implication of that one clue in the margin using arrows and symbols only—no full sentences.
- Micro-map sprint: take a simple deduction puzzle or part of a larger puzzle and build a micro-map for one hypothesis. Stop after three minutes and decide: keep or eliminate the hypothesis.
- Cleanup drill: take a solved sample grid with heavy notes and spend four minutes converting it to a clean final grid—move tentative notes to the margin and mark confirmed items with a single symbol.
These drills are ideal for short daily practice: the habit forms faster with repeated, focused attempts. If you want to practice notation in short sessions, repeat one drill per day for a week and review which shorthand stuck.
When to go elaborate and when to stay simple
Complex puzzles sometimes require more elaborate notation—multi-level micro-maps, numbered chains, or a second sheet for full hypothesis trees. For simpler puzzles, keep notation minimal so you don’t overthink. A useful rule of thumb: invest in more notation only if a hypothesis requires three or more linked deductions to resolve. See my note on how difficulty affects notation choices for a short guide to when to escalate your system.
Final notes
Notation should make solving calmer and clearer. Begin by adopting two or three symbols, a tiny margin micro-map habit, and a cleanup step at the end of each solve. Over weeks you’ll find which shorthand best matches your pace. The goal is not clever marks but fewer re-reads and steadier progress.